Maintaining your cleaning equipment properly isn’t just about hygiene—it’s about maximizing performance, extending lifespan, and protecting your investment in quality tools.
Every professional cleaner and home enthusiast knows that the difference between mediocre and exceptional results often lies not in the equipment itself, but in how well it’s maintained. When you finish a cleaning session, your work isn’t truly complete until your tools are properly cleaned, dried, and stored. This comprehensive guide will walk you through the essential practices that separate cleaning novices from true professionals who understand that their equipment deserves the same attention they give to the surfaces they clean.
🧹 Why Equipment Maintenance Matters More Than You Think
The reality of cleaning equipment maintenance extends far beyond simple cleanliness. When you neglect your tools after use, you’re creating a breeding ground for bacteria, mold, and unpleasant odors that will transfer to every surface you clean next. This defeats the entire purpose of cleaning and can actually spread germs rather than eliminate them.
Financial considerations make equipment maintenance even more critical. Quality cleaning tools represent a significant investment, whether you’re running a professional cleaning business or simply maintaining your home. A well-maintained vacuum cleaner can last 10-15 years, while a neglected one might fail within 2-3 years. The same principle applies to mops, brushes, cloths, and every other tool in your arsenal.
Performance degradation happens gradually when equipment isn’t properly maintained. A mop with trapped dirt particles will streak your floors. A vacuum with a clogged filter loses suction power. Spray bottles with mineral buildup won’t dispense evenly. These small inefficiencies compound over time, making your cleaning sessions longer and less effective.
Essential Cleaning Equipment Categories and Their Care Requirements
Understanding the specific needs of different equipment types helps you develop targeted maintenance routines that are both efficient and effective. Each category presents unique challenges and requires specialized attention.
Vacuum Cleaners: The Workhorse That Needs Regular Attention
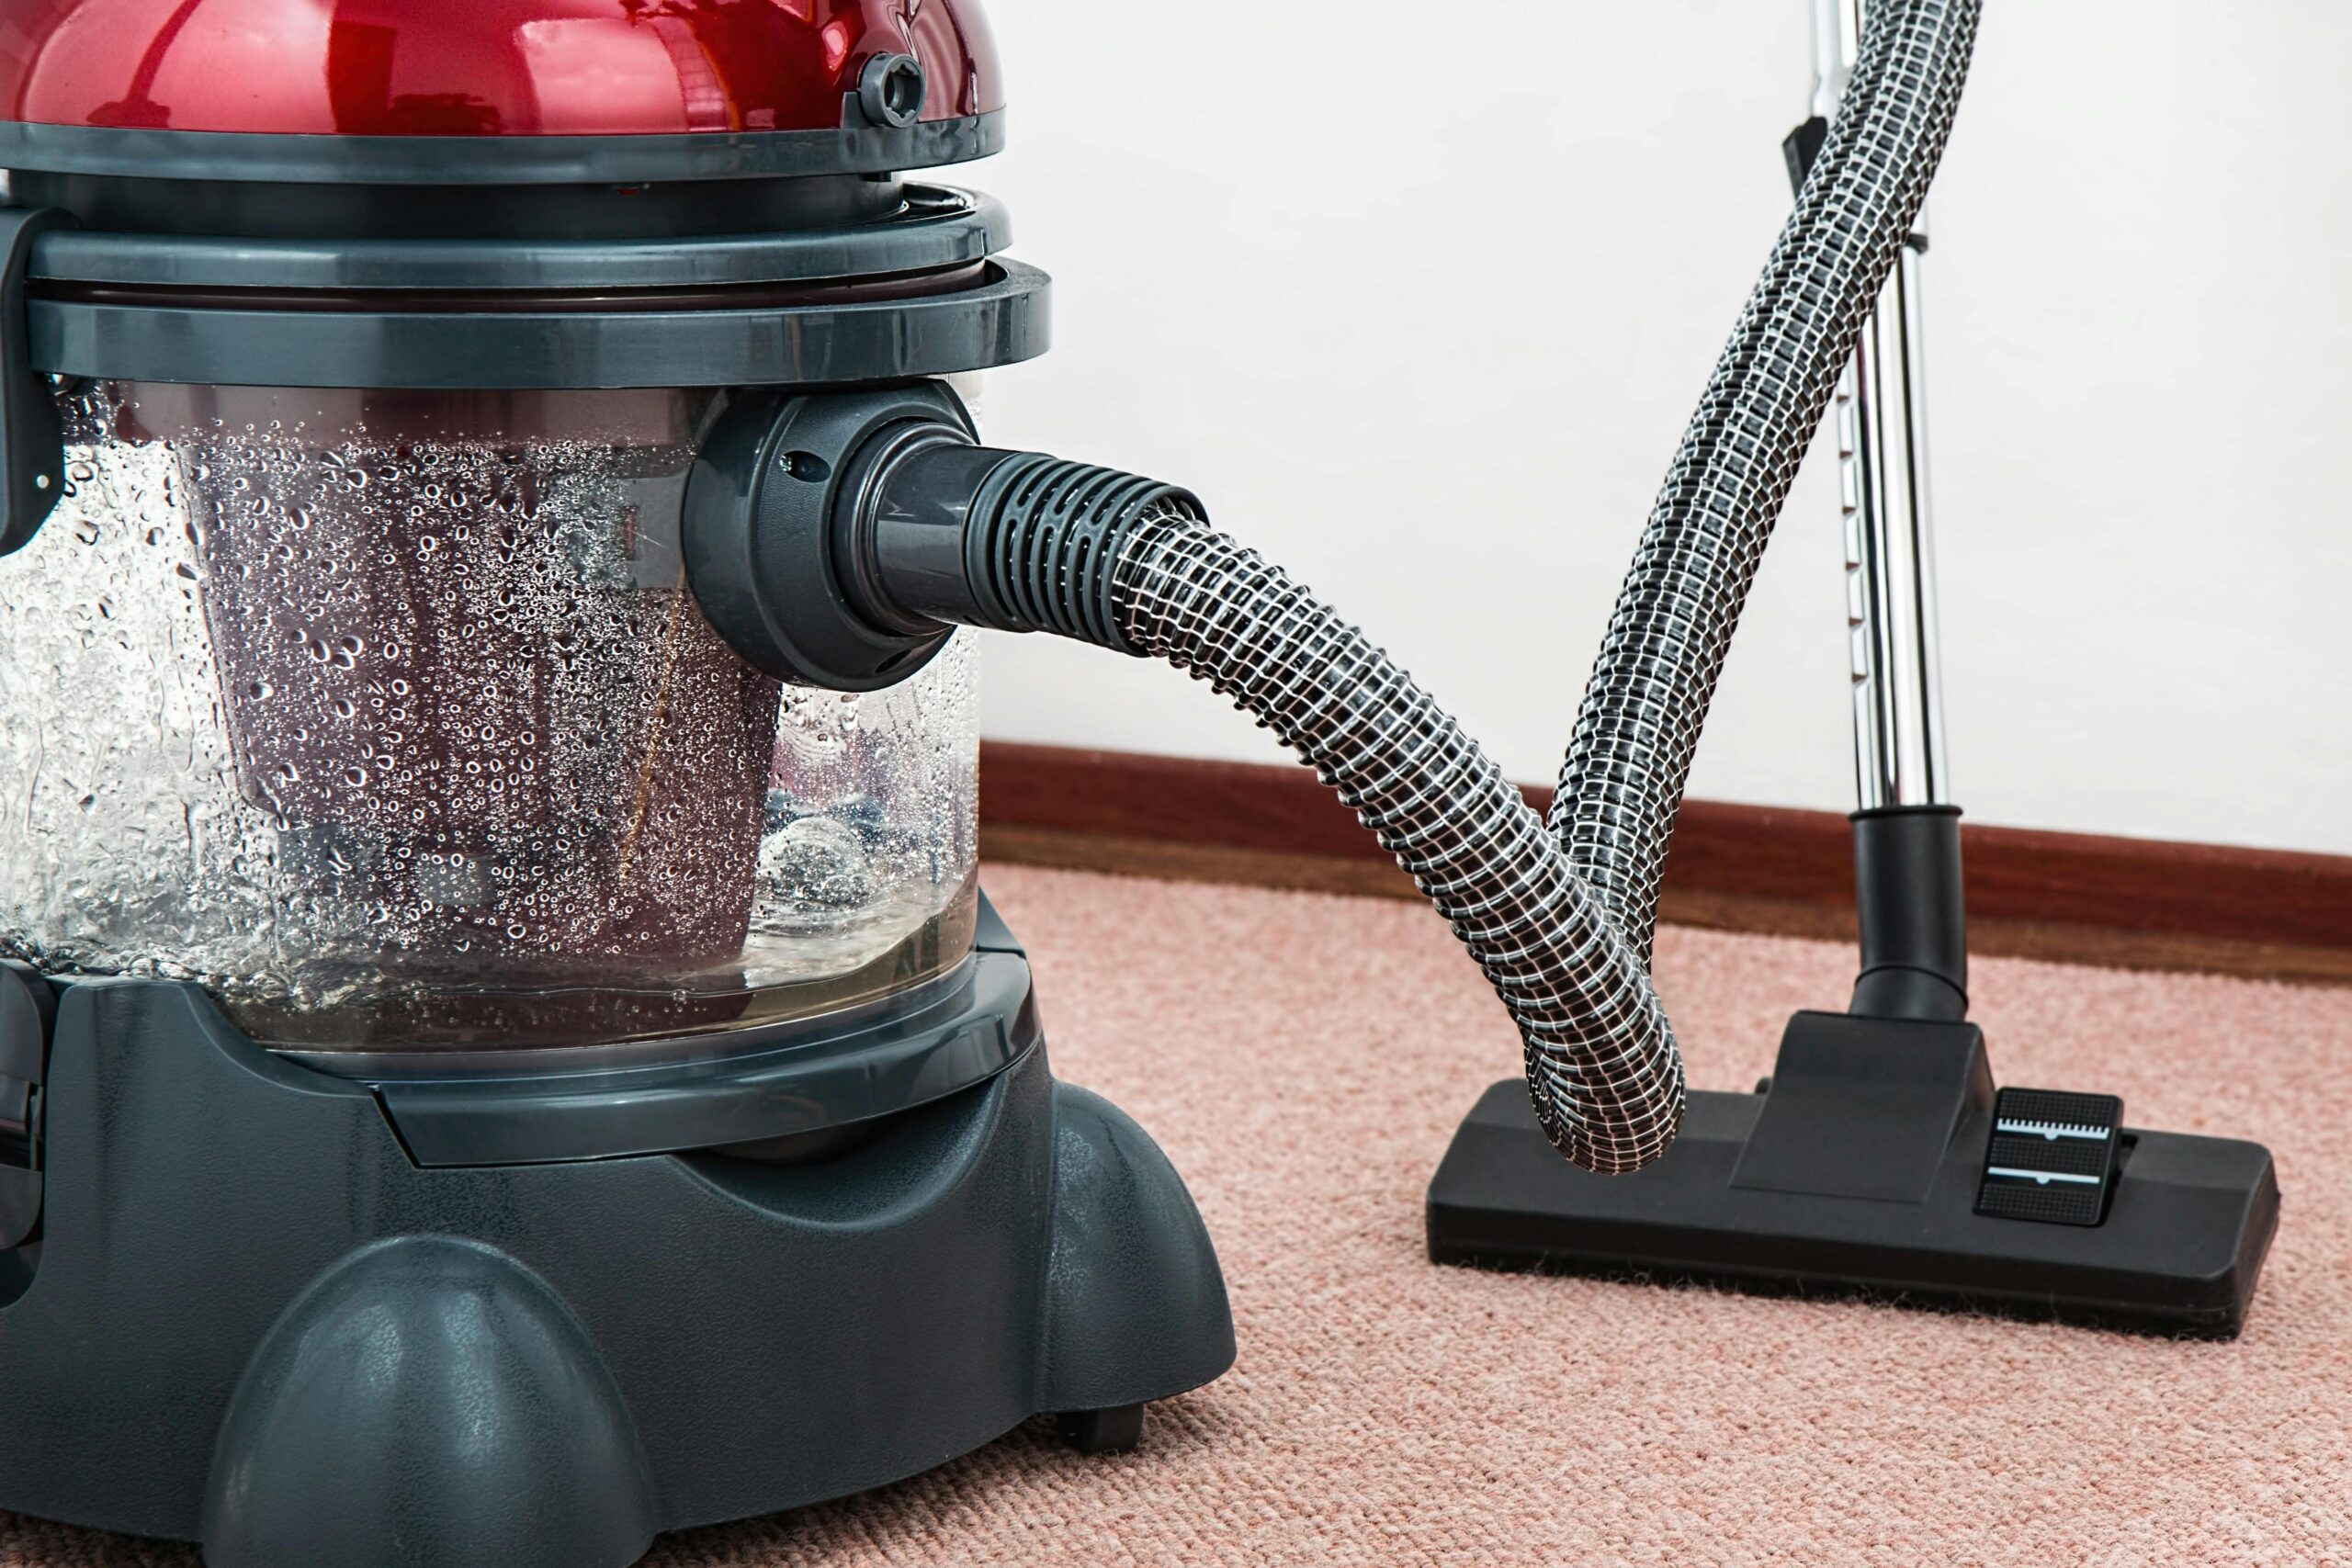
Your vacuum cleaner handles some of the dirtiest work in your cleaning routine, making post-use maintenance absolutely essential. After every vacuuming session, empty the dust container or replace the bag when it reaches 70-80% capacity—never wait until it’s completely full, as this reduces suction efficiency significantly.
Check the brush roll after each use, removing tangled hair, strings, and fibers that wrap around it. These obstructions prevent the brush from rotating properly and can strain the motor. Use scissors or a seam ripper to carefully cut away tangled debris, being careful not to damage the bristles themselves.
Filter maintenance varies by vacuum type, but the principle remains constant: clean or replace filters according to manufacturer guidelines. HEPA filters typically need replacing every 6-12 months, while foam filters can often be washed and reused. Always allow washed filters to dry completely—at least 24 hours—before reinstalling them to prevent mold growth.
Inspect hoses and attachments for clogs after each use, especially if you’ve vacuumed up anything unusual. A straightened wire coat hanger makes an excellent tool for dislodging stuck debris. Wipe down the exterior housing with a damp microfiber cloth to prevent dust buildup on the machine itself.
Mops and Buckets: Breaking the Cycle of Dirty Water
Traditional string mops require thorough rinsing immediately after use. Run the mop head under hot water until the water runs clear, then wring it out completely. Never store a mop wet—hang it with the head up to allow complete air drying, which prevents mildew and that characteristic “dirty mop” smell.
Microfiber mops demand slightly different care. Remove the mop pad immediately after use and rinse it thoroughly. These pads can typically be machine washed, but avoid fabric softener and bleach, as these damage the microfiber structure that makes them effective. Wash with hot water and allow to air dry or tumble dry on low heat.
Mop buckets need attention too. After emptying the dirty water, rinse the bucket thoroughly with hot water. Once weekly, clean it with a disinfecting solution, paying special attention to the wringer mechanism where grime accumulates. Store buckets upside down or tilted to allow complete drainage and air circulation.
Spray Bottles and Chemical Containers: Preventing Cross-Contamination
Spray bottles accumulate residue from cleaning solutions that can clog spray mechanisms and harbor bacteria. After using any bottle, spray clean water through it several times to flush out remaining chemicals. Once weekly, disassemble the spray mechanism and soak it in warm water with a small amount of dish soap.
Mineral deposits from hard water are a common culprit in spray bottle failure. If you notice reduced spray pressure or uneven misting, soak the nozzle in white vinegar for 30 minutes to dissolve mineral buildup. This simple maintenance step can extend bottle life by years.
Label your bottles clearly and permanently to avoid confusion and dangerous chemical mixing. Replace bottles periodically, as plastic degrades over time, especially when exposed to harsh cleaning chemicals and sunlight.
💧 Deep Cleaning Your Cleaning Tools: Weekly and Monthly Routines
While daily maintenance keeps equipment functional, periodic deep cleaning ensures optimal performance and longevity. Establishing these routines prevents the gradual deterioration that comes from accumulated grime and wear.
The Weekly Deep Clean Protocol
Dedicate time each week to thoroughly clean the equipment you use most frequently. For cloths and towels, run a sanitizing wash cycle with hot water and an appropriate detergent. Add a cup of white vinegar to the rinse cycle to eliminate odors and remove detergent residue that can make cloths less absorbent.
Scrub brushes and brooms need weekly attention as well. Fill a bucket with hot, soapy water and work the bristles through it thoroughly. For particularly dirty brushes, add a small amount of bleach to disinfect. Rinse completely and shake out excess water, then store bristle-side up to maintain their shape and allow proper drying.
Inspect all equipment for damage during your weekly routine. Check power cords for fraying, handles for cracks, and moving parts for unusual wear. Addressing small issues immediately prevents them from becoming major problems that sideline your equipment when you need it most.
Monthly Maintenance Tasks That Make the Difference
Once monthly, perform more thorough maintenance that goes beyond surface cleaning. Vacuum cleaners benefit from complete disassembly and cleaning—remove all attachments, wipe down internal components accessible without tools, and check belt tension if your model uses a belt-driven brush roll.
Polish and condition any leather or rubber grips on your equipment to prevent cracking and degradation. Lubricate moving parts according to manufacturer specifications—a few drops of appropriate oil on vacuum wheels, mop mechanism joints, and other pivot points ensures smooth operation.
Review your inventory of replacement parts and consumables. Stock up on vacuum bags, filters, mop heads, and microfiber cloths before you run out. Having replacements on hand means you can swap out worn items immediately rather than continuing to use degraded equipment that delivers poor results.
🔧 Proper Storage Techniques for Maximum Equipment Lifespan
How you store your equipment between uses dramatically impacts its condition and longevity. Poor storage practices can undo all the careful maintenance work you’ve done.
Environmental Considerations for Storage
Store cleaning equipment in a cool, dry location away from direct sunlight and temperature extremes. Heat and humidity accelerate the degradation of plastics, rubbers, and electronic components. If your only storage option is a garage or shed, consider using climate-controlled storage containers for your most valuable equipment.
Ventilation matters enormously for preventing mold and mildew. Never store equipment in completely sealed containers while any moisture remains. Use open shelving or pegboard systems that allow air circulation around all sides of your tools.
Keep cleaning chemicals separate from equipment when possible. Chemical fumes can degrade plastics and metals over time. Use dedicated chemical storage cabinets or at minimum, store chemicals on lower shelves away from equipment.
Organizational Systems That Protect Your Investment
Hanging storage works beautifully for long-handled tools like mops, brooms, and dusters. Wall-mounted holders keep these items off the floor where they might be damaged and allows them to dry completely. Position holders so that brush heads and mop heads don’t touch the wall or floor.
Create dedicated spaces for small items like spray bottles, scrub brushes, and cleaning cloths. Bins or baskets prevent these items from getting lost or damaged, and clear containers let you see inventory at a glance. Label everything clearly to maintain organization even when you’re in a hurry.
Vacuum cleaners should be stored with cords wrapped loosely—never tightly wound, as this can damage internal wiring. Keep all attachments together, either in the vacuum’s storage compartments or in a labeled container nearby. Store the vacuum with a partially empty dust container to prevent odors from developing.
Troubleshooting Common Equipment Issues Before They Become Problems
Recognizing early warning signs of equipment problems allows you to address issues before they require expensive repairs or replacement. Developing a keen eye for these signals comes with experience, but knowing what to look for accelerates the learning process.
Performance Red Flags to Never Ignore
Reduced performance is often the first indicator that equipment needs attention. If your vacuum seems to have less suction, don’t assume it’s just getting old—check for clogs in the hose, a full dust container, or a dirty filter. These simple issues account for 90% of perceived vacuum problems.
Strange noises signal potential problems before they cause failure. A vacuum that suddenly sounds louder might have something caught in the brush roll. Squeaking or grinding sounds suggest bearings or belts need attention. Address these sounds immediately rather than waiting for complete failure.
Unusual odors from equipment indicate bacterial growth or trapped debris. A musty smell from a mop or cloth means it’s not drying completely between uses. A burning smell from a vacuum suggests motor strain, often from clogs or a tangled brush roll forcing the motor to work harder.
Preventive Measures That Avoid Costly Repairs
Keep equipment manuals accessible and actually read them. Manufacturers provide specific guidance for their products that can prevent common problems. Most manuals are also available online if you’ve lost the physical copy.
Establish a maintenance log for expensive equipment, tracking filter changes, brush roll replacements, and any repairs. This documentation helps you identify patterns and predict when components will need replacement, allowing you to plan and budget accordingly.
Invest in quality replacement parts rather than cheap alternatives. A genuine HEPA filter costs more than a generic substitute, but it performs as designed and won’t damage your vacuum. The same principle applies to mop heads, brush rolls, and other consumables—quality replacements extend equipment life.
🌱 Eco-Friendly Maintenance Practices That Benefit Everyone
Sustainable equipment maintenance isn’t just good for the environment—it often saves money and delivers better results. Simple changes to your maintenance routine can significantly reduce your environmental impact.
Choose reusable, washable cleaning tools over disposable alternatives whenever possible. Quality microfiber cloths can be washed hundreds of times, eliminating the need for paper towels or disposable wipes. The initial investment pays for itself quickly while reducing waste dramatically.
Use eco-friendly cleaning solutions for maintaining your equipment. White vinegar, baking soda, and castile soap handle most equipment cleaning tasks effectively without harsh chemicals. These alternatives are gentler on equipment materials while being safer for you and the environment.
Repair rather than replace when feasible. Many equipment issues can be resolved with simple repairs that cost a fraction of replacement. Learning basic repair skills or connecting with local repair services extends equipment life and keeps items out of landfills.
Professional Standards: Elevating Your Equipment Care
Professional cleaning services maintain equipment to higher standards than typical home users, and their practices offer valuable lessons for everyone. These standards exist because professionals understand the direct connection between equipment condition and cleaning results.
Implement equipment rotation to distribute wear evenly. If you have multiple mop heads or vacuum attachments, rotate their use rather than wearing out favorites first. This approach extends the overall life of your equipment collection.
Document equipment purchase dates and expected lifespans to plan replacements before equipment fails. Proactive replacement prevents situations where broken equipment interrupts your cleaning schedule. Budget for equipment replacement as an ongoing expense rather than an emergency purchase.
Train anyone who uses your equipment on proper maintenance procedures. Whether family members or employees, ensuring everyone understands equipment care prevents neglect and abuse that shortens equipment life.
Creating Your Personalized Maintenance Schedule
The most effective maintenance routine is one you’ll actually follow consistently. Generic schedules provide starting points, but your specific equipment, usage patterns, and available time require customization.
Start by listing all your cleaning equipment and researching manufacturer maintenance recommendations for each item. Create a master document or spreadsheet that consolidates this information in one easily accessible location.
Break tasks into daily, weekly, monthly, and annual categories based on importance and time requirements. Daily tasks should take no more than 10-15 minutes total—anything more complex gets postponed and eventually forgotten. Weekly and monthly tasks can be more involved since you’ll dedicate specific time to them.
Set reminders on your phone or calendar for weekly and monthly maintenance tasks. These reminders ensure nothing falls through the cracks during busy periods. Consider scheduling maintenance sessions on the same day each week to build a consistent habit.
Adjust your schedule based on actual usage. Equipment used daily needs more frequent maintenance than items used occasionally. If you deep clean your home every other week, adjust maintenance frequencies accordingly rather than following generic recommendations.
Making Equipment Maintenance Second Nature
Transforming maintenance from a chore into an automatic habit requires time and conscious effort, but the payoff justifies the investment. Well-maintained equipment delivers superior results with less effort, creating a positive feedback loop that reinforces good habits.
Start with just one or two maintenance practices and master them before adding more. Trying to implement an entire maintenance program overnight leads to overwhelm and abandonment. Build gradually, adding new practices only after previous ones have become habitual.
Link equipment maintenance to existing habits to leverage the power of habit stacking. Always clean your equipment immediately after finishing a cleaning session, before putting it away. This connection makes maintenance feel like a natural conclusion to cleaning rather than a separate task.
Celebrate the benefits you notice from proper maintenance—the improved performance, extended equipment life, and better cleaning results. Recognizing these positive outcomes provides motivation to maintain your new habits even when you’re tempted to skip maintenance and move on to other activities.
The art of maintaining cleaning equipment transforms from obligation to satisfaction as you witness the tangible results of your efforts. Your vacuum maintains powerful suction year after year. Your mops leave floors genuinely clean without streaks or odors. Your spray bottles function perfectly every time you reach for them. These consistent, reliable performances stem directly from the care and attention you invest after every use, proving that mastering equipment maintenance truly elevates your entire cleaning practice to professional standards worthy of pride.